
- Best Pepper Seeds for Home Gardens - October 13, 2026
- Ferry Morse vs Back to the Roots: A Seed-to-Seed ComparisonFerry-Morse vs Back to the Roots: A Seed-to-Seed Comparison - September 25, 2026
- Old Seeds vs Fresh Seeds: How Long Do Garden Seeds Really Last? - August 5, 2026
The first time your tray of seedlings starts looking bad, it’s easy to make the problem worse by trying to fix everything at once. I’ve moved a tray closer to the light, watered it, opened a window for air, and then decided it needed fertilizer, all in the same afternoon. By the next morning, I knew even less than I had the day before.
Seedlings don’t give us many clues, and several problems can produce the same limp or pale plant. A plant with dry roots can wilt, but so can one sitting in saturated mix. Yellow leaves can come from wet roots or a cold room. If the seedling has been growing for a while, it may also have used up what was available in the starting mix.
The most useful clues as to ‘Why Are My Seedlings Dying’ are down near the soil, not in the most dramatic-looking leaf.
Before You Even Touch The Tray
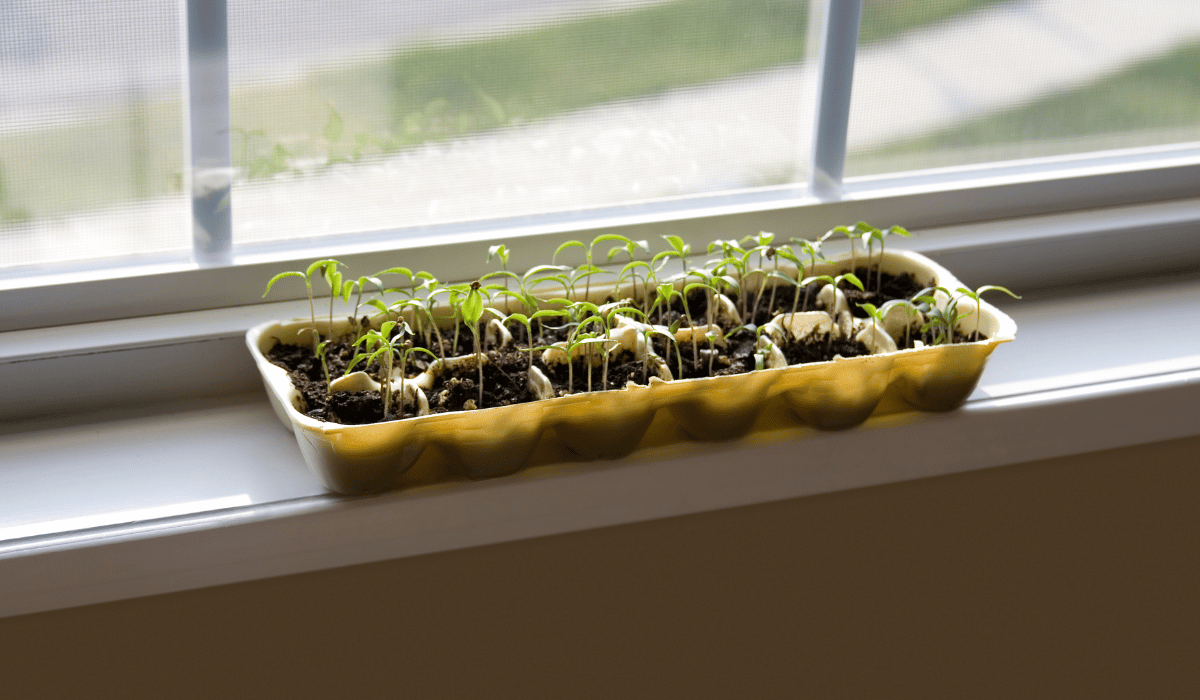
Start by looking at what changed. Did you water yesterday? Did the room get colder overnight? Did you move the light or leave the humidity dome on after the seedlings came up? One change often explains more than the plant’s color does.
Then check the stem where it meets the mix. A firm stem on a drooping plant points you in a different direction than a dark, thread-thin stem that has folded over. Lift the tray, too. After a while, the difference between a watered tray and a dry one becomes obvious in your hands, but many beginners don’t think to pick it up.
In my experience, a few quick clues can narrow things down:
- Tall, pale seedlings leaning toward the window: The light is probably too weak.
- A heavy tray with yellow leaves: The mix may be staying too wet or draining poorly.
- Mix pulling away from the cell walls: The cells have dried out.
- Brown tips after feeding: The fertilizer solution may have been too strong.
- White, papery areas after time outside: The seedlings likely have sun or wind damage rather than a disease that appeared overnight.
My main takeaway: change one condition, then wait long enough to see whether the plant responds.
Damping-Off: What To Look For First
Damping-off is different from an ordinary wilt because the seedling collapses right at the soil line. The stem may look pinched or water-soaked, then turn dark or nearly translucent. Seeds can also rot before they emerge, leaving a bare cell that never had a chance to show you what went wrong.
Several fungi and water molds cause damping-off. They thrive in cool, wet mix. Crowding and weak light keep the surface damp, and still air adds to the problem. Overwatering helps create those conditions, but water itself isn’t the disease.
Remove a collapsed seedling and the wet mix immediately around it. Move the tray away from other starts if several cells are affected. Give the remaining plants more air and let the surface dry slightly between waterings, while still keeping the roots from drying out.
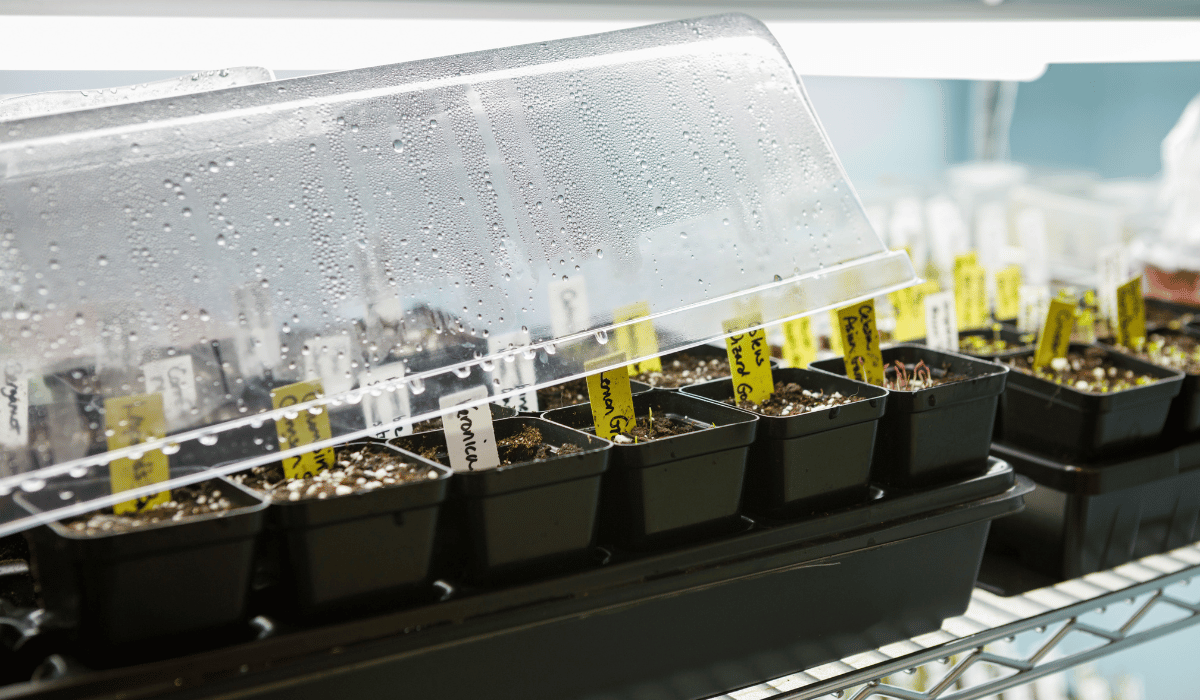
For the next sowing, use clean containers with drainage holes and fresh seed-starting mix rather than garden soil or reused mix. A humidity dome is useful before germination, but it should come off once the seedlings are up. Leaving it on because three stubborn cells haven’t sprouted puts the rest of the tray in a tiny greenhouse they no longer need.
The Watering Problem Starts Lower In The Cell
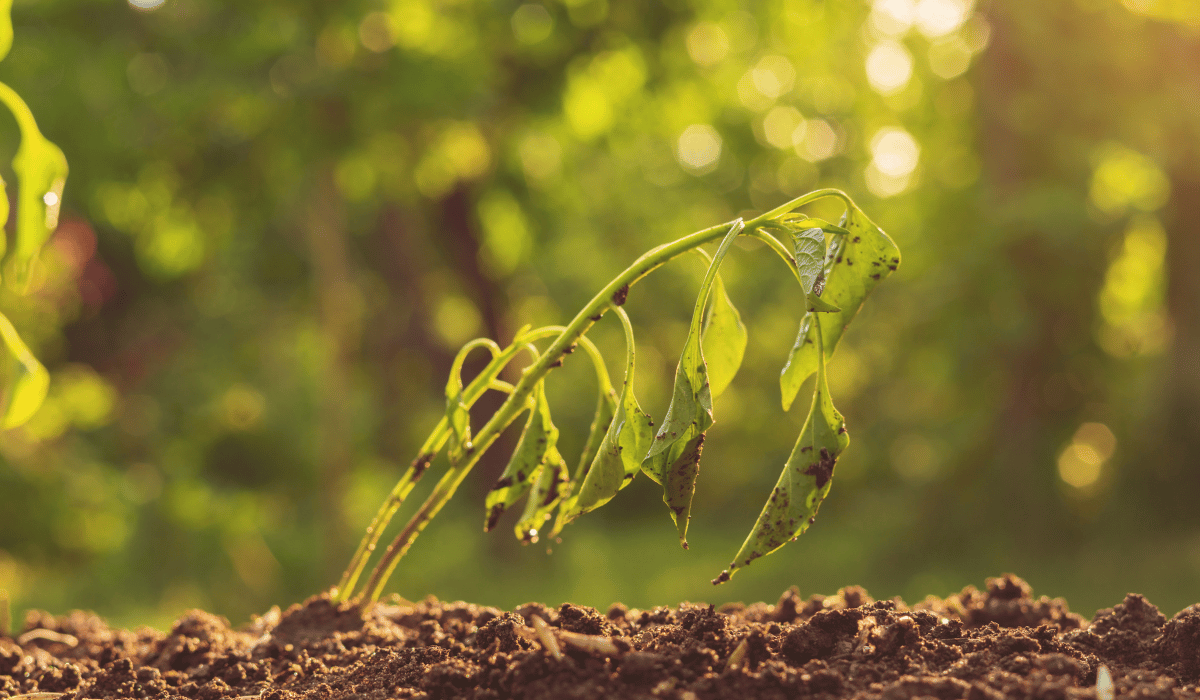
The top of a peat-based mix can look dry even while the bottom stays wet for days. This causes more beginner trouble than almost anything else, because the tray appears to be asking for water every time you walk past it.
Overwatered seedlings droop or grow slowly even though the mix is wet, and the leaves often turn pale. Algae or fungus gnats point to a persistently wet setup. So does a musty smell or water sitting in the solid tray underneath the cells. If a struggling plant slides out easily and the roots are brown and soft instead of pale and firm, the problem has gone beyond one extra watering.
Lift the tray and push a finger farther into the mix than the dry-looking surface. Another check is the drainage hole. Water thoroughly when the mix is approaching dry, then empty any water that remains below after the cells have absorbed what they need.
Underwatered seedlings show up as a lighter tray and dry mix pulling from the cell edges. The leaves feel thin rather than soft and yellow. Small plugs go from fine to wilted surprisingly fast under warm lights. Add water slowly to very dry mix. Pour too quickly and it runs down the gap beside the soil and out the bottom without soaking the root area. A seedling with living roots often perks up within a few hours. Repeatedly letting it collapse and recover is harder on it than one missed watering.
A mildly overwatered plant often recovers once the mix drains and the roots get air again. Brown, mushy roots or a collapsing stem are less promising. At some point, restarting is faster than spending another week trying to negotiate with a plant that has already quit.
Light And Temperature Often Show Up Together
I had a tray of zinnias grow at such a slant that turning the tray only made them lean in the opposite direction. The lamp looked bright from across the room, but it was too far above them. Moving the seedlings under a proper grow light stopped the new growth from stretching, although the original stems didn’t magically shorten.
That kind of lean is a classic sign of weak light. Leggy seedlings grow tall and thin toward the brightest side of the room; some become too weak to hold their first leaves. Most seedlings do well with roughly 12 to 16 hours under artificial light and a dark period overnight. Keep the fixture close enough to provide strong light without warming or touching the leaves, and follow the instructions for the specific light because fixtures vary. Raise it as the plants grow. Ferry-Morse’s seed-starting guidance gives the same 12-to-16-hour range, so a few hours of evening light isn’t enough for a first shelf.
Temperature complicates the same tray. Tomatoes, peppers, basil, cucumbers, and eggplant germinate better in warmer mix than lettuce, onions, and several other cool-season crops. A heat mat helps during germination in a cool room, but it shouldn’t become permanent furniture under emerged seedlings. Ferry-Morse instructs gardeners to remove the tray from its heat mat after the seeds have sprouted and move the seedlings into strong light. I like that handoff because it corrects a common beginner mistake: giving newly emerged plants more warmth when what they need most urgently is light.
Read the individual packet rather than putting every seed on the same schedule. A room thermostat doesn’t tell you the temperature of damp mix beside a drafty window. If germination is uneven, check the tray itself before deciding the packet failed.
Wait Before You Feed Them
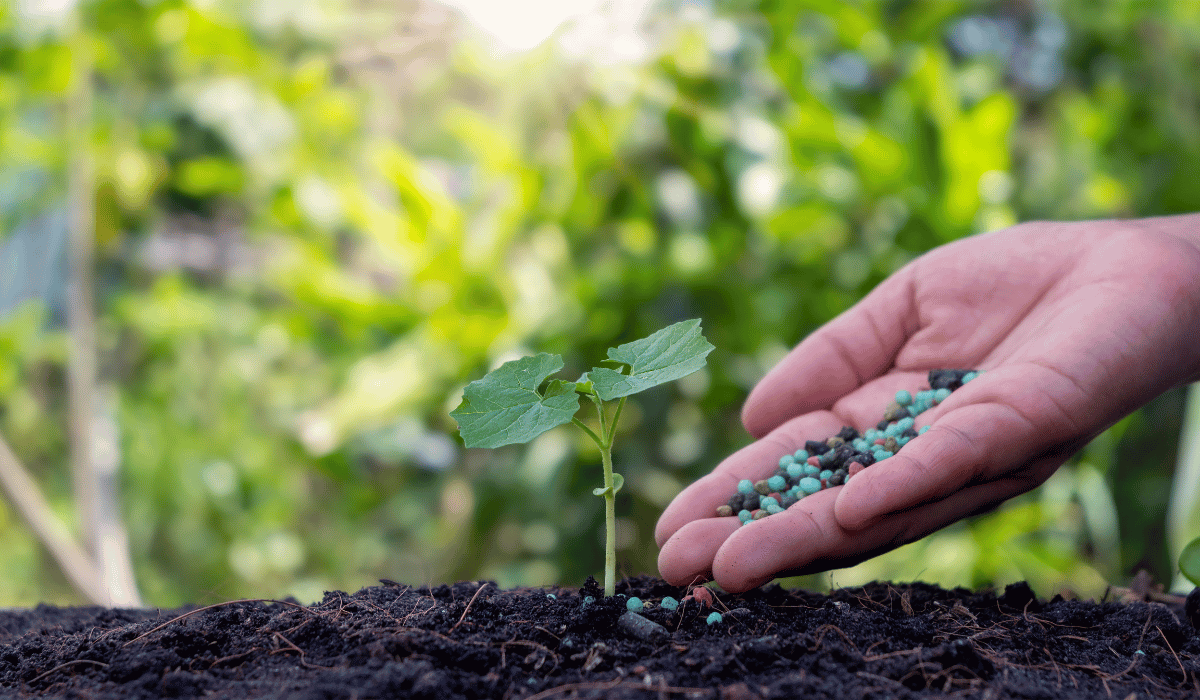
The first leaves on a seedling are cotyledons, or seed leaves. They help support the plant before true leaves develop, and a newly emerged seedling doesn’t need full-strength fertilizer. Some seed-starting mixes also contain nutrients already, so the bag matters here.
Too much fertilizer burns tender roots. I would stop feeding if the tips turn brown or the seedlings suddenly wilt afterward. A white crust on the mix is another clue that the solution was too strong. Flush the container gently with plain water if you think the solution was too strong, and let it drain completely.
Once seedlings have several true leaves and have been growing for a while in a mix without fertilizer, start with a weak feeding. The University of Minnesota Extension recommends quarter-strength soluble fertilizer after several true leaves develop, while also noting that mixes with slow-release fertilizer may not need it. I would still follow the product label and check the obvious problems first. Plant food won’t correct a light that is six inches too high or roots sitting in water.
Crowding And Stale Air Create Their Own Mess
A cell where every seed germinates looks wonderfully successful. A week later, the leaves overlap, the mix stays damp underneath them, and the roots are tangled together. Thin crowded seedlings before they begin competing heavily. Snipping extras at soil level is easier on the remaining plant than pulling them out by the roots.
The humidity dome should be vented or removed as seedlings emerge. Condensation on the stems and leaves keeps the tray wetter than it looks, especially when the air is still. Use a small fan for gentle air movement, but don’t aim it directly across tiny cells until they dry in an hour. This is one of those adjustments that takes a little watching rather than a perfect setting on day one.
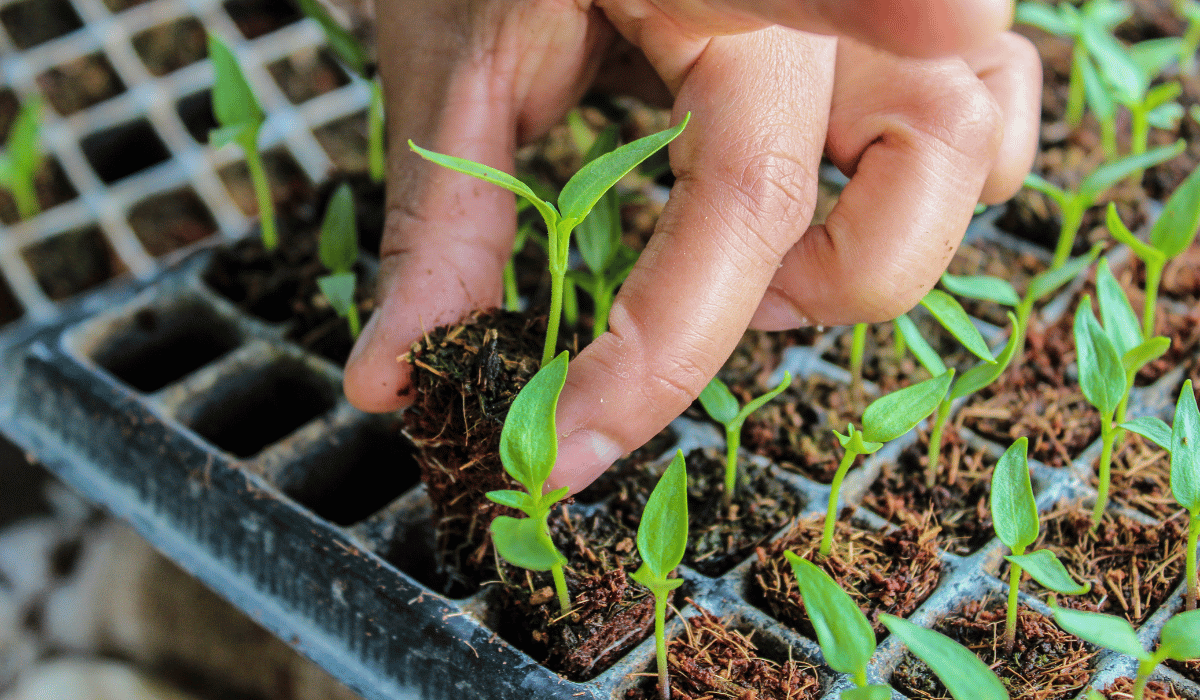
Pot seedlings up when roots circle the bottom or the cells dry so quickly that you can’t keep up. Stalled growth despite decent care is another sign they need more room. Handle a small transplant by a leaf or lift it with the root ball rather than pinching the stem, which is much harder for the plant to recover from.
Hardening Off Can Ruin A Good Tray In One Afternoon
I once set a flat near the edge of the porch where I thought it was protected. The center plants were fine, but the outside row dried hard in the breeze and looked miserable by dinner. That was a useful reminder that a tray doesn’t experience the outdoors evenly. Check the cells themselves, not just the weather app.
Indoor seedlings haven’t dealt with full sun, wind, or quickly changing temperatures. Moving them directly from a light shelf into a sunny garden bed is a much bigger jump than it looks.
Sunscald shows up as white or tan papery patches. Wind roughs up leaves and dries small pots before you realize it. A cold night can stall warm-season seedlings even when there was no frost. The damage often appears after the plants come back inside, which makes it tempting to blame whatever you did next.
Start hardening seedlings about one to two weeks before planting. Put them outside in a shaded, protected spot for a short period on a mild day, then bring them back in. Add time and light gradually, working toward morning sun before a long stretch of hot afternoon exposure. Don’t put tender seedlings out on a windy or unusually cold day just because the calendar says you’re behind. Wait for milder conditions and try again.
Water seedlings before transplanting and choose a cloudy period or late afternoon when possible. Set most crops at the same depth they were growing in the container, firm the soil gently, and water them in. Tomatoes are one familiar exception because they can form roots along buried stems. A little temporary wilt after transplanting isn’t unusual. Continued collapse, a rotten stem, or no sign of new growth after several days needs another look.
Deciding Whether To Save The Plant Or Start Again
A seedling with a pinched, rotting stem from damping-off should go. So should one with badly decayed roots, a dead growing point, or severe fertilizer damage. If the crop still has enough time to mature, starting fresh in clean mix is the more sensible use of the space.
I would keep a seedling with a firm stem, pale roots, and a problem I can clearly correct. A dry plant that responds to water is worth keeping. A leggy tomato improves under better light and can be planted more deeply later. A few damaged leaves from sunscald don’t end the plant if the growing tip remains healthy.
If one whole packet fails while other varieties germinate under the same conditions, sow a small second batch before drawing a conclusion. Keep the packet, note the sowing date, and write down the temperature and moisture conditions. That gives the seed company something useful to work with if you contact them. It also keeps you from forgetting that the tray sat beside an open window during a cold week.
When The Packet Is Not Enough
A seed company can’t keep me from watering the same basil twice, and it can’t control the cold corner of my house. The useful part of Ferry-Morse for a beginner is that the company carries the equipment that surrounds seed starting, including trays, grow lights, heat mats, and kits, and it connects those products with growing information rather than treating the packet as the end of the conversation.
If the packet gives you the planting depth and germination range but the tray is still doing something strange, Ferry-Morse also has a Gardener’s Helpline and FAQ pages where beginners can look for more direction. I would still compare any general advice with the instructions for the actual crop. Basil and lettuce shouldn’t be forced into the same routine just because they fit in the same plastic tray.
A Calmer Routine For The Next Batch
My routine became easier once I stopped treating every drooping leaf like an emergency. Now I try to keep the basics simple:
- Label each cell and write down the sowing date.
- Start warm-season seeds on a heat mat, then move them into strong light after they emerge.
- Remove the humidity dome once the seedlings are up.
- Lift the tray before watering instead of judging moisture by the surface alone.
- Pay attention when the outside cells dry faster than the middle.
- Check the stem near the soil line and look at the roots if a plant keeps declining.
- Think about what changed over the last few days before adjusting several conditions at once.
There will still be empty cells and plants that never look quite right. Most of us aren’t starting seeds under laboratory conditions. The room gets drafty, a cloudy week changes the light, and sometimes the tray gets moved because somebody needs the table.
Once you can tell a dry tray from a saturated one, watering becomes much easier. Learning the difference between a stretched stem and a rotting one takes away much of the guesswork, too. You may still lose a few seedlings, but you’ll be far less likely to lose the rest while trying to save them.